
Author: Jeremy Morgan
Part One: Introduction
In this series we’re going to build a fully functional CRUD (Create Read Update Delete) application in Blazor using Entity Framework Core and SQLite. We’re going to build an application to manage employees at a fictional company and build the application from start to finish.
Blazor is an excellent way to create web and mobile applications. You can be super productive and build features fast. The result is a performant, stable application. But most applications need data. Many times it’s just a tiny amount of data, so a dedicated SQL server or even an Azure SQL instance is overkill for what you’re trying to accomplish. And possibly too expensive.
That’s where SQLite comes in. It’s a lightweight, disk-based database system that can be embedded in applications. You don’t need a database server to run SQLite. It’s just a file. Whether you know it or not, you use it every day. Mobile devices and enterprise applications all over the world use SQLite. It’s quick, easy, and lightweight.
 Photo by Chris Peeters
Today we’re going to merge the two. We’re going to use Entity Framework Core to access our SQLite database. You’ll be surprised how few lines of code you’ll have to write to make this happen. Together we’re going to learn how to leverage this for your applications.
In this tutorial, we will explore how to use EF Core and SQLite in a Blazor application to create, read, update, and delete (CRUD) operations. When you finish this tutorial, you will have a solid understanding of how to use these technologies to manage data in a Blazor application and will be equipped with the knowledge to build your data-driven applications.
I recently did this full tutorial on a Live Stream you can view here.
You can follow all our live streams on Twitch!
What we’ll do
Part One (This page)
- Set up a new Blazor project
- Create a SQLite database
Part Two
Part Three
Part Four
At the end of this tutorial series we’ll have an actual application, you can get the source code here.
So let’s get started!
1. Setting up the project
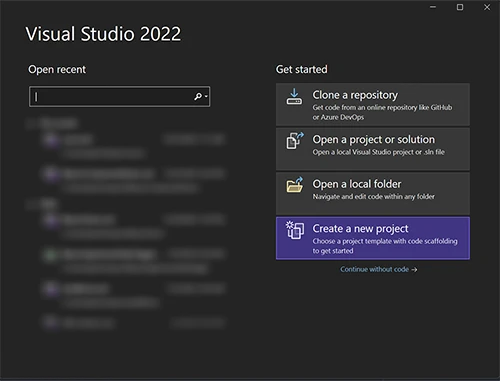
For this tutorial, I’m using Visual Studio 2022. You can use the community edition or professional for this. We’re going to create a new project:
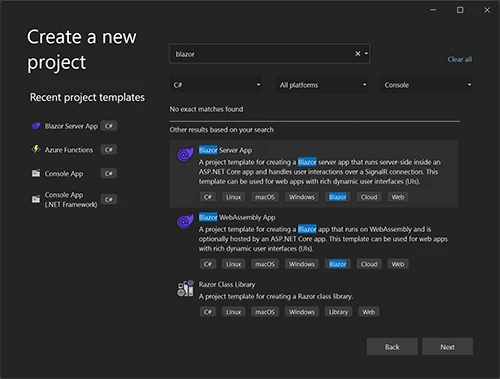
Search for the “Blazor” template, and we want a Blazor Server App
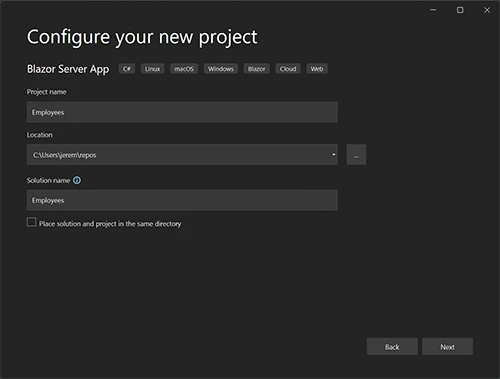
Create a name for it. I’m going to name mine “Employees”
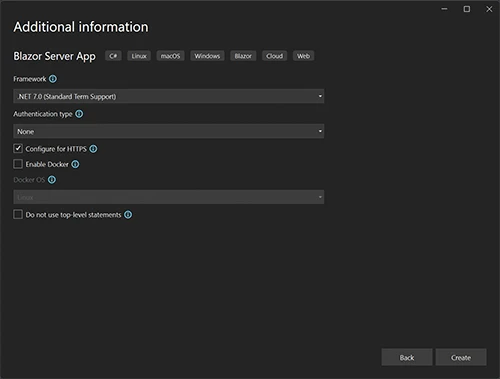
Select .NET 7 and click “Create”
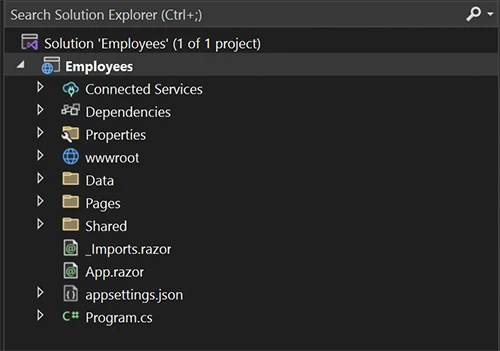
Now we have our Blazor Server App scaffolded and ready to go.
Let’s install some prerequisites. We need to install Entity Framework Core, specifically for SQLite. We’re going to add Tools and Design to create the database from a model in our application.
dotnet add package Microsoft.EntityFrameworkCore.Sqlite
dotnet add package Microsoft.EntityFrameworkCore.Tools
dotnet add package Microsoft.EntityFrameworkCore.Design
Then we need to update our dotnet-ef tool to make sure it’s 7.02 (at the time of this writing)
dotnet tool update -g dotnet-ef
And you’re ready to go!
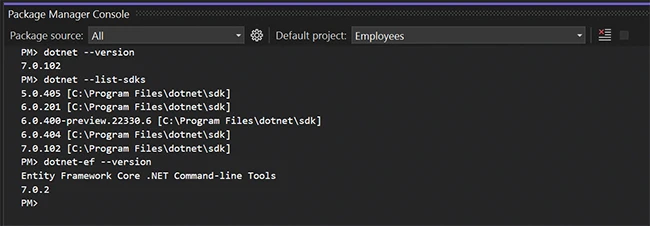
Note: You don’t need all the SDKs I have listed here, only 7.0.2 or newer.
Let’s create our database!
2. Creating the SQLite Database
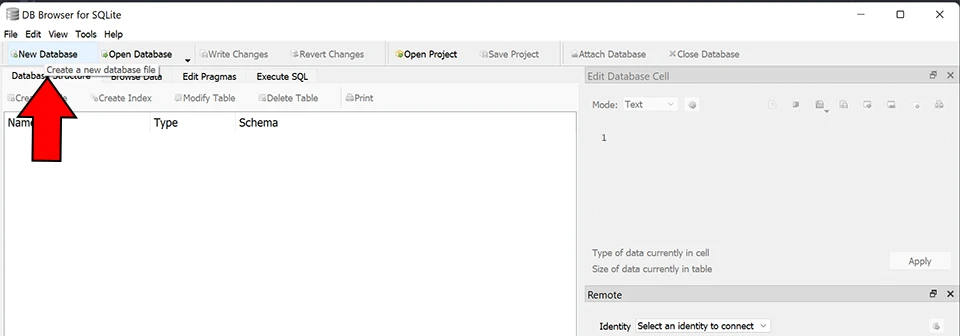
To work with SQLite databases, I prefer to use DB Browser for SQLite. It does a great job and runs on multiple platforms. You can create, manage, and browse SQLite databases easily.
So we’ll open that up and create a new database:
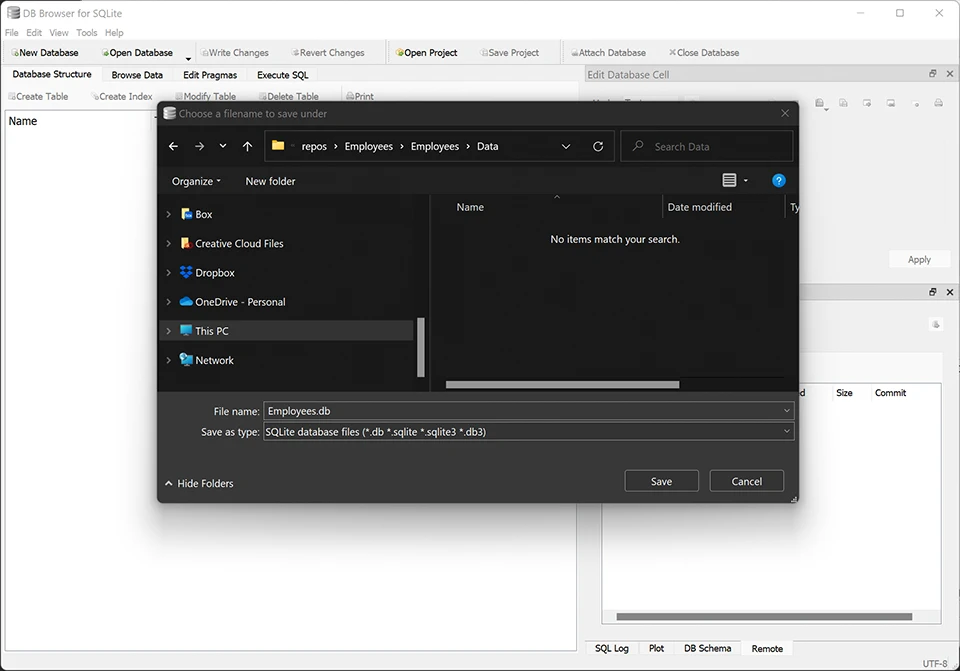
We will name it Employees.db and save it in the Data directory of my Blazor application.
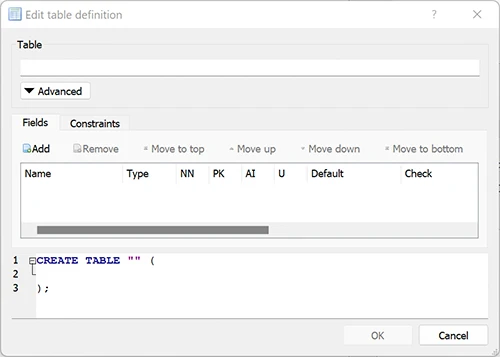
In the “Edit table definition” window, just click cancel. We won’t create any of the table data here.
Next, click save project.

Then close the database

Now you’ll see the database in your project, ready to use.
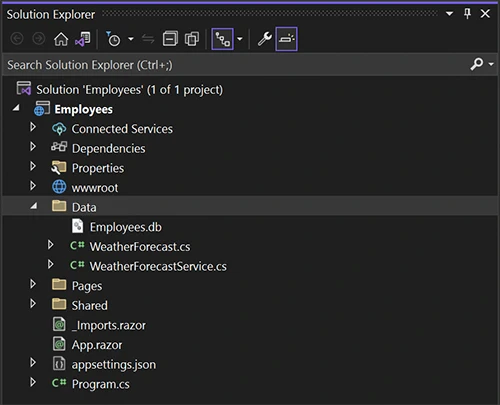
Because SQLite is a file based database, this all that’s required to provide data services to your application. It’s all contained in this simple file.
Now that we have your project setup, let’s jump right into creating the database model and connecting to it.